

In the
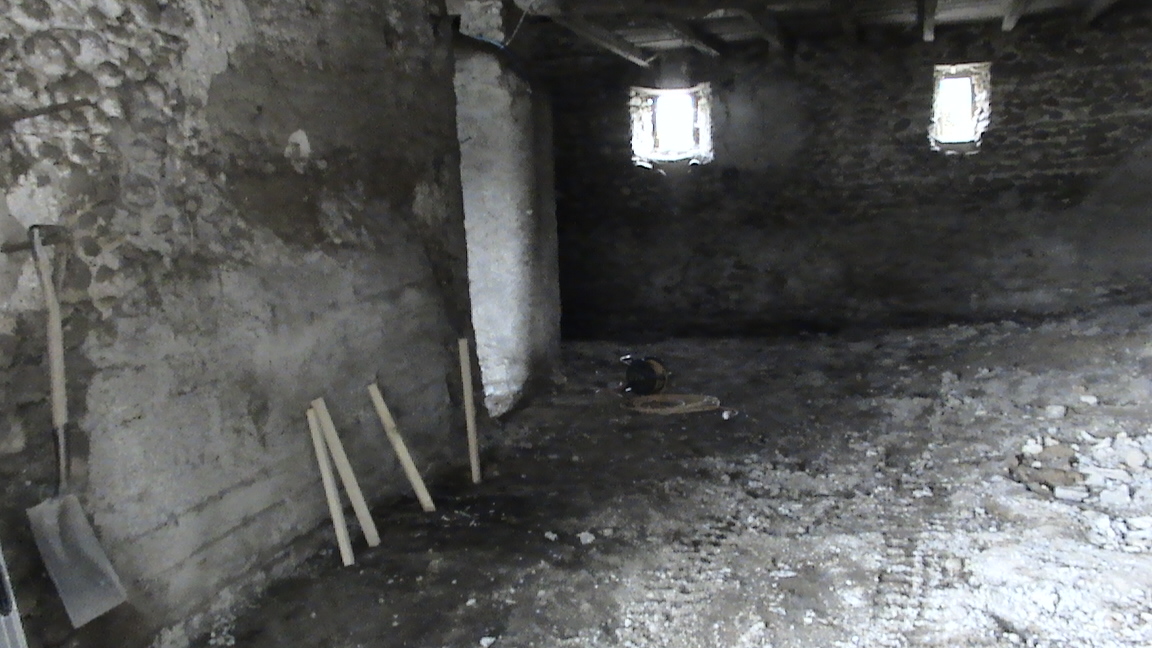
post for September 2011 there is a description of the start of the
work on the new kitchen and the first picture above shows the state
of the room just after the start of the work. With considerable
difficulty we did manage to put the new oak beam into place and
remove all the props holding up the floor above. In the up-to-date pictures you can see both the new oak beam as well as the one we retained. The concrete
delivery went reasonably well – it was pumped into the room and we
had a good team of us spreading it over the floor area, but polishing
it to a smooth finish was a bit of a trial given that it was such a
large area.
After that
the walls were formed using wood stud-work and for the outside walls
I put into the voids high density polyurethane sheets to provide
substantial insulation. Once the plasterboards were in place I
covered the joints with jointing material and then had to sand it all
back to a finish suitable for painting – it is a horrid task,
particularly on ceilings as inevitably you get completely covered in
white dust.
Then I had
to put down the floor tiles. These had been bought right at the
start of the project to make sure that we had an exact colour match
across the whole of the house. What I also tried to ensure was that
joints between the tiles would match up with the tiles already laid
in the first half of the house. So we drilled a pilot hole through
the wall where the corridor across from the hallway to the new
kitchen would go exactly in line with an existing tile joint. I then
took this down the corridor and judged where I needed to start in the
kitchen to make it all work. As it happened when I finally tiled
back from the kitchen down the corridor to the hallway the joints
were less than 5 millimetres out; effectively unnoticeable.
The next
step was to put in all the units and then the work surfaces. And to
be sure that we had got the measurements exactly right this meant
putting the cooker in place forcing us to abandon the original
temporary kitchen and move immediately into the new one. The result
of all this work can be seen in the two up-to-date pictures above.
No comments:
Post a Comment